Friday, August 19, 2011

House Tour part 2: Upstairs Before and After

The upper floor of the house only has three rooms (including the bathroom) and a hallway, but we sure found ways to do a lot of work up there. When we moved in, my husband and I took the big room and our daughter was in the little room. The little room was originally Pooh Bear yellow with Winnie the Pooh wallpaper borders and clings.
We kept it that way for a long time. I painted the master bedroom a sea green color (oops paint) one wall at a time. After our second daughter was born and entered toddlerhood, we decided to switch rooms with the girls.
I had a hard time deciding on a color. I had a plethora of paint chips. I finally decided on a Martha Stewart paint color called Full Sail.
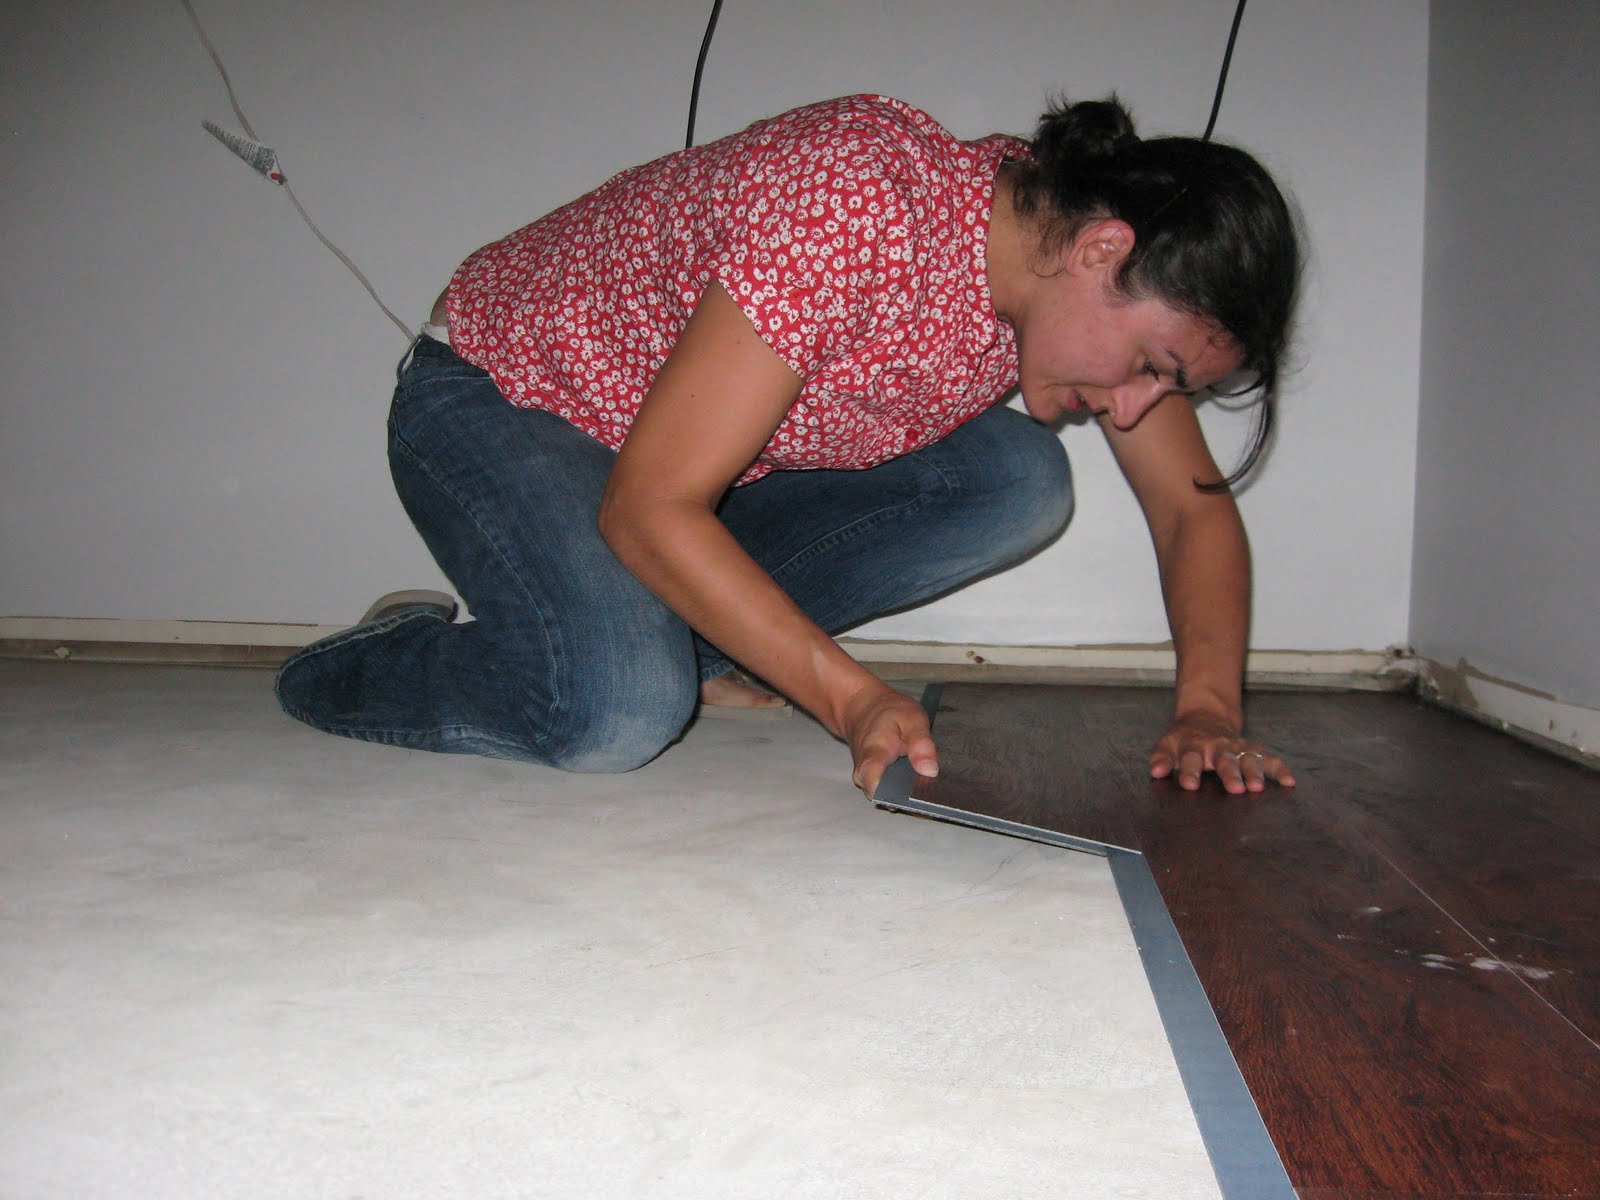
I never got around to blogging about this project, so here are some of the during pictures


To maximize our storage space in the small room, we got PAX storage units from Ikea. We found all the doors and drawer fronts in the as-is section. They were all new in the package, I guess they were just trying to clear them out. The big doors were $3.99 rather than like $100! After building the PAX units, we had more storage space in the little room than in the two closets of the MBR combined!
After

Eventually, we figured out that switching back would make more sense for staging the house to sell.
After After


After the first switcheroo, the big room became the girls' bedroom/playroom. It went through a few different configurations, eventually ending up with bunk beds (that really opened up some space for play!)

Befores and Afters in the big room


The paint color in the master bedroom was a mix of a gallon of blue oops paint, a gray oops paint sample, some left over light blue oops paint I had bought a while back, and some flat white paint.

I added a bit of white semi gloss before painting the bathroom with it. I'm pleased with how it turned out. I left some touch up paint for the new residents and took the 5 gallon bucket of the rest with us!

Bathroom before
after


Sources: Small room-- PAX wardrobe system, all bedding excluding euro shams, end table, boxes above wardrobe, under bed basket, and blinds- Ikea, bunk beds- BJs, lamp, curtain, and curtain rods- Walmart
Master Bedroom-- ceiling fan-Lowes, bed skirt, head board, ottoman, and lamp shades- Target, all other bedding, picture frames, end tables, book case, floor lamp, accessories, and throw- Ikea, baskets-Michaels, table lamps and chair- thrift store
Bathroom-- towels- jcpenny.com, shower curtain-Target, light fixture- Home Depot, glass shades- Lowes, towel rod and toilet paper holder- ReStore, frame around mirror- hand cut and built by me with end cap trim from home depot, painted with bronze spray paint.


linking to

Wednesday, August 17, 2011

House Tour: A Before and After nearly six years in the making


We did it! We sold our house!
What a journey it has been. When we were getting the house ready, I figured I'd blog about all the projects once they were done, then I was so busy cleaning and keeping the house looking nice while it was on the market that I didn't.
I also got quite discouraged while we on the market. Getting an offer, then having the buyer back out was also pretty discouraging. But we did a lot better than a lot of the people trying to sell in our neighborhood. I think all the work we did made a big difference.
So did having good pictures in our listing. Our realtor hired a photographer and all the after pictures here are her work.

Without further ado, here is part one of the house tour, the main floor.


All of the before pictures were taken way back in 2005 when we were barely starting to move stuff in. Yeah, we bought in 2005, and yes we did lose $$.
The kitchen is the first thing you see in this house.


I blogged about painting the kitchen cabinets here and about the flooring here and here.
I wrote about the fake board and batten here and the trimmed out ledge (up the stairs) here.

I couldn't find a good before picture of this part of the kitchen. We used to have a big book case here that was always overflowing with junk and looking terrible.
We made the table with a butcher block countertop and four adjustable table legs all from Ikea. The light shade, the wall cabinet and many of the accessories inside it are also from Ikea. The barstools are from walmart.com.


The dining room beforeand after
The chandelier, bench, table, and chair covers are from Ikea. The chandelier shades are from jcpenny.com. All of the floor mats are from LLBean.

The living room, before we moved in any furniture

way after
The curtain rod, drapes, and lamp are from Ikea. The sheers and the art is from JCPenny. The print pillows were on clearance at Target. The brown pillows are pillow covers made from napkins. The plastic film on the window panes of the door and the laminate flooring are both from homedepot.com.

*edited to add- for those interested in the paint color, it is Soft Yellow from Glidden (we bought it a few years back, so I don't know if it's still called that).

Next up: Part 2- The upper floor

part 3-basement and backyard

linking to

Monday, July 4, 2011

Granny Square

Since we have a new niece arriving next month and because I find crocheting relaxing, I recently made this little baby blanket. It is one big granny square. I got tired of doing it all the same so I tried switching off which hook I was using. I made a fairly large square with a J hook and then switched for the next few rows to a bigger hook (I think it was like M or N, my big plastic ones don't say on them what they are). I ended up doing two sections of big rows alternating with small rows. It made it a little more interesting.
I like granny squares because the pattern is repetitive (I don't like having to keep looking over a pattern or counting stitches and rows).

Here's how to make a granny square.
chain 4, slip stitch the end to the beginning to make a circle. chain 3 (that counts as the first double crochet. going through the middle of the circle, make two more double crochets then chain one, make three double crochets then chain one, make three more double crochets then chain one, finally make three more double crochets and chain one then slip stitch into the top of the chain three to finish off the row. Slip stitch through the two double crochets until you get to the chain one space. Chain 3(for the first double crochet) then do two double crochet in the space (just like you did in the circle at the beginning), chain 2 then do three more double crochet in the same space (it should make a nice corner). chain 1 and then in the next space make three double crochet, chain 2 and three more double crochet, then chain 1 and repeat in each remaining space until you get back around to where you started. slip stitch to close it off and slip stitch to get yourself to the corner again. repeat what you did on the last row, only this time there will be spaces in between the corners. In those spaces, just do three double crochets and continue on with a chain 1 in between the shells (those three double crochets). You can make as many rows as you like.

Sunday, June 19, 2011

Happy Father's Day

Cookies for the fathers at church. Sugar cookie recipe here. Icing recipe here. I also used food color markers for the detail.


When you don't have the appropriate cookie cutter, you improvise. I sketched a template on some cardstock and cut with a butter knife. Probably should have made the end pointy like a real tie.

Monday, June 13, 2011

Play Kitchen Remodel

brand spankin' new Christmas morning 08
We have a cute little play kitchen that our girls got from Santa a couple of years ago. The girls decided one day to try and play with some real water and kinda made a big mess of the press board "back splash." I didn't care too much about it until we ended up moving it into the basement before we put our house on the market. I was a little worried people might think there was some kind of basement water leak that had cause the water marks on this thing. I decided to tile the back splash with some sheets of 1" glass tiles. I got two 12X12" sheets at Home Depot for under $5 each. The girls picked out the color. We decided to go with tile that worked okay with the pastel colors (I may eventually remodel the play kitchen a bit more, but for now we're good). I decided to prime the back since it was gross looking, the tiles ended up being opaque so it didn't matter. I stuck the tiles on with spray adhesive. Then I just grouted over it with some non sanded grout from the craft store. I also gave the formerly red wire basket a coat of silver spray paint to coordinate a little better.


I got a little pouch of non sanded grout for under $2 on clearance at Michaels.
sorry for the weird angle!

~The finished product~


linked to

Monday, May 30, 2011

Reusable Vacation Countdown

For the unofficial start of summer (it sure feels like summer here today!) I've got a little project I made in my excitement for our upcoming trip to California.  I wanted to use things I had.  Check!  I wanted it to be small.  Check!  I also wanted it to be easy to put up out of the way as our house is still on the market.  Check!
 I got to thinking a little bit and decided it would be fun to use the little clothespins I bought at a craft store years ago.  One thing led to another and I ended up making a countdown that can be reconfigured and reused for a variety of purposes.


all of my materials except the scotch tape for wrapping the box
I started off with a small priority mailer from the post office.  We had a bunch in the basement from when we used to mail things more often.  Probably just about any small box would work, but the post office boxes are nice and sturdy.  After assembling it, I wrapped it up with some scrapbook paper.  I did a little trial and error to find a good size for the little folded pieces of paper.  I cut them about 1X2" long then folded them in half.  I found some string and wrapped it around the box several times and tied it off in the back.  If I hadn't packed all of my stamps away, I probably would have stamped the numbers directly on the papers, but printing off the little numbers and the title on the computer worked just as well.  Inside each folded paper is a little activity to help us get ready for our trip.  One is giving ourselves pedicures (I've got two little girls).  Another is picking out which toys to bring on the trip (very important!).  One is packing our suitcases (it will just seem more exciting this way and less of a chore right?  right?)
Since all of the little cards are just clothespinned on rather than glued down, it will be easy to reuse this countdown.  I'm so pleased with how it turned out I think I might just make one in Christmas colors for an advent calendar this year.

UPDATE: I'd recommend a little bit of tape on the back to keep the string in place as you use it, the strings have been sliding down a bit for me. 

linked to-


http://justagirlblog.com/

Tuesday, May 17, 2011

Tale of Two Floors


We needed to replace the gross, old carpeting pretty much all over our house.  Last year we began tackling the job.  There was a lot of back and forth in my mind as to what kind of flooring we should use.  I knew that I wanted a hard surface on the main floor as it is one continuous area that includes the entrance, kitchen, dining area, and living room (aka the main TV watching area).  It finally came down to two choices for me, vinyl plank or laminate. Engineered hardwood had been in the running, but we decided it was too costly.
Vinyl plank sounded like such a great idea.  The main reasons why were that it seemed to be very easy to install, it didn't require a table saw, and it is totally waterproof- a great thing for a kitchen or a basement.  I found a reddish color that I liked and my husband even liked it too.  I did have some reservations.  In my online research I found that the main complaint seemed to be that the pieces didn't stay stuck together very well.  Some people also complained about the smell.  We decided to give the vinyl plank a try in the basement.

When it came time to redo the main floor, we decided to go with laminate instead.  Finding a spectacular deal on some Brazilian Cherry laminate flooring online at Thanksgiving sealed the deal.  We also got a great deal on a table saw on Black Friday.

Here's a run down of my experience with floating self stick vinyl plank and click and lock laminate

There were some similarities between the two projects.  In both projects we started with pulling up the carpet.  I ended up getting a tetanus shot after a run in with some rusty carpet tacks.  The back of my hammer, a small pry bar, and a staple remover (office supply variety) were handy tools for carpet strip and staple removal.  Both of the sub floors needed leveling but due to the different sub floor materials we ended up using different leveling methods.
before leveling
mixing leveling compound was messy work
The basement floor was concrete, so we used a self leveling compound to level it out.  It was quite difficult to mix up and pour out the amount we needed to cover the whole floor.  It kept drying in between batches and the drill we were using to mix kept overheating.  The floor didn't end up perfectly level, but it did end up pretty flat which was good enough.


Sorry cricket, you picked the wrong day to hop into my basement.


The main floor had a plywood sub floor.  After tightening up a few of the loose boards (good bye squeaks!) we used roofing felt to build up the low areas.  We also used a foam underlayment per the laminate installation instructions.


Vinyl Plank Installation and Performance
The vinyl plank we used was a floating floor but it did not require an underlayment.  Each plank is basically two planks of vinyl stuck together such that each piece over hangs on two sides.  These sticky edges are what hold the various planks together.  We cut the planks with a utility knife, and it was sometimes more difficult than we thought it would be.  My husband ended up with a large cut on his finger.  It was also difficult to line the planks up perfectly.  If you wanted to adjust a piece after placing it, it was hard to unstick the pieces then they didn't stick as well when you restuck them.
We were overall pleased with the look and the feel of the vinyl plank.  It has a bit of texture to it so it's not as slippery as other options.  It did have a smell which didn't last too long.  The worst part has been seams coming apart.  We tried laying heavy things on top of the problem seams, but it didn't really help.  We ended up resorting to super glue.
In the end, I am glad to have a totally waterproof type of flooring in the basement.  I was especially glad when the washer water came up through the downstairs toilet!  The basement also seems less dank since we've put it in.  We've scuffed the finish up in a few places, but it's not too noticeable.

Laminate Installation and Performance
The laminate flooring we used was a click and lock floating floor.  We used a table saw to cut the pieces and a jig saw for detailed cuts.  We also bought a special tool for tapping the pieces in at the end.  It's hard to say if this installation seemed easier than the vinyl plank because we did the vinyl plank first, because we had better tools, or if it was just easier.  The laminate was easy to adjust, take up and put back down, or tighten up the gaps at any time.
The laminate is more smooth which means it is more slippery.  We've already dinged it a couple of times dropping heavy things on it as well.  It is water resistant but not water proof.  We've spilled plenty of liquids on it so far and haven't had any problem.  I definitely wouldn't let water stand on it for long periods though.  Despite it's downsides, I've been very pleased with the laminate floor.  Overall it looks really good.  We were also able to get a matching stair nose piece to use at the top of the basement stairs.  There wasn't anything like that available with the vinyl plank.


As for price, the vinyl plank ended up being by far the more expensive project.  Even if we were to include the price of the table saw, the laminate was less expensive.  The vinyl plank itself was nearly $2 per square foot.  The leveling compound was also quite expensive.  We did get a very good deal on the laminate, around 68 cents per square foot, but I have seen other laminate flooring for sale at comparable prices year round.